前提:
- 目的明确,了解 Home-Assistant 是什么东西
- 你的机子已经安装了 Docker
1.查找镜像
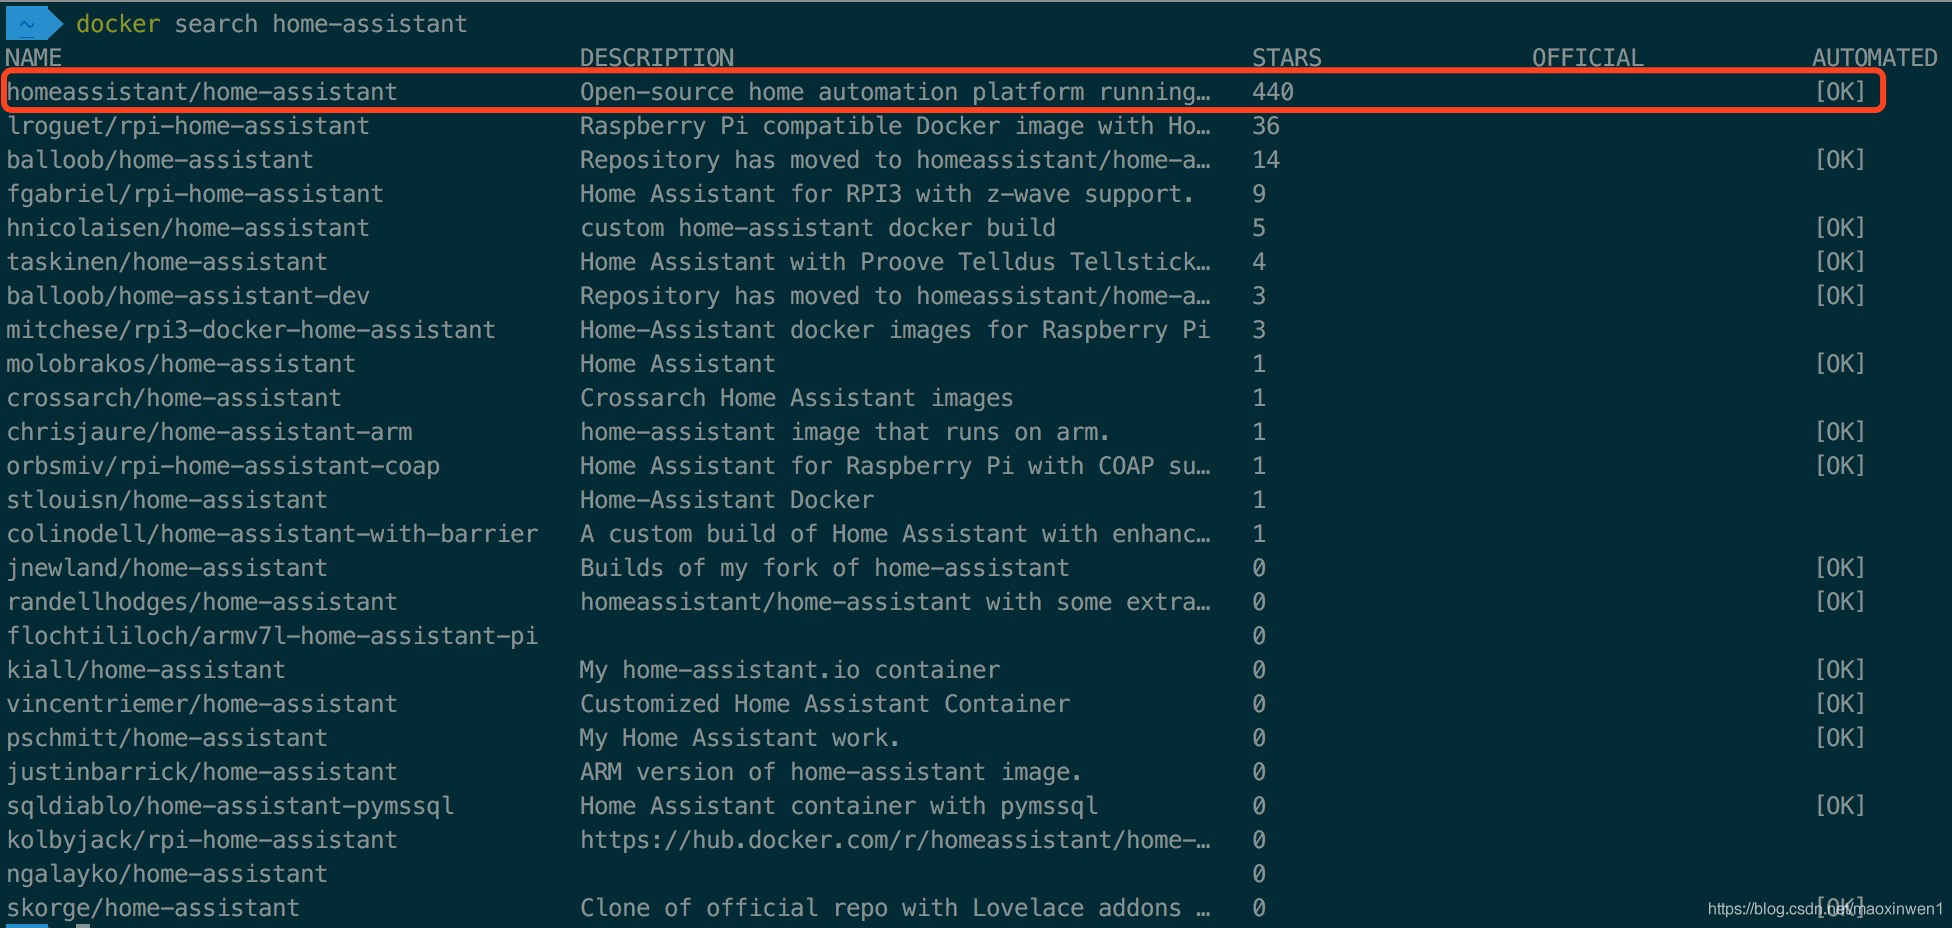
docker search home-assistant
可以看到上图中被圈起来且排在第一的 homeassistant/home-assistants
2.下载镜像
参考homeassistant/home-assistant链接:https://hub.docker.com/r/homeassistant/home-assistant/tags
docker pull homeassistant/home-assistant:latest文件有点大,过程比较久,耐心等待…
3.运行并创建容器
docker run -d --name="home-assistants" -v /[你的本地存放该容器配置路径]:/config -p 8123:8123 homeassistant/home-assistant运行成功会生成一串容器ID。切记!该命令操作一次,停止或启动(重启)请查看下面的步骤。
解释一下命令意思:
-d:表示在后台运行
–name:给容器设置别名(不然会随机生成,为了方便管理)
-v:配置数据卷(容器内的数据直接映射到本地主机环境,参考路径配置:-p /data/homeassistant/config )
-p:映射端口(容器内的端口直接映射到本地主机端口)
最后便是刚才下载的镜像了,运行该容器。
4.查看运行状态
docker ps直接打开 你的IP地址:8123 进入配置你的 Home-Assistant 吧
5.停止或启动(重启)
使用 docker run 命令创建运行容器后,想停止容器或重启容器请用下面的命令来进行操作。
停止容器:
docker stop home-assistant
启动容器:
docker start home-assistant
参考来源:CSDN博主「oamnomis」文章
原文链接:https://blog.csdn.net/maoxinwen1/article/details/86485655


